How Picturli Organizes a Large Family Photo Collection
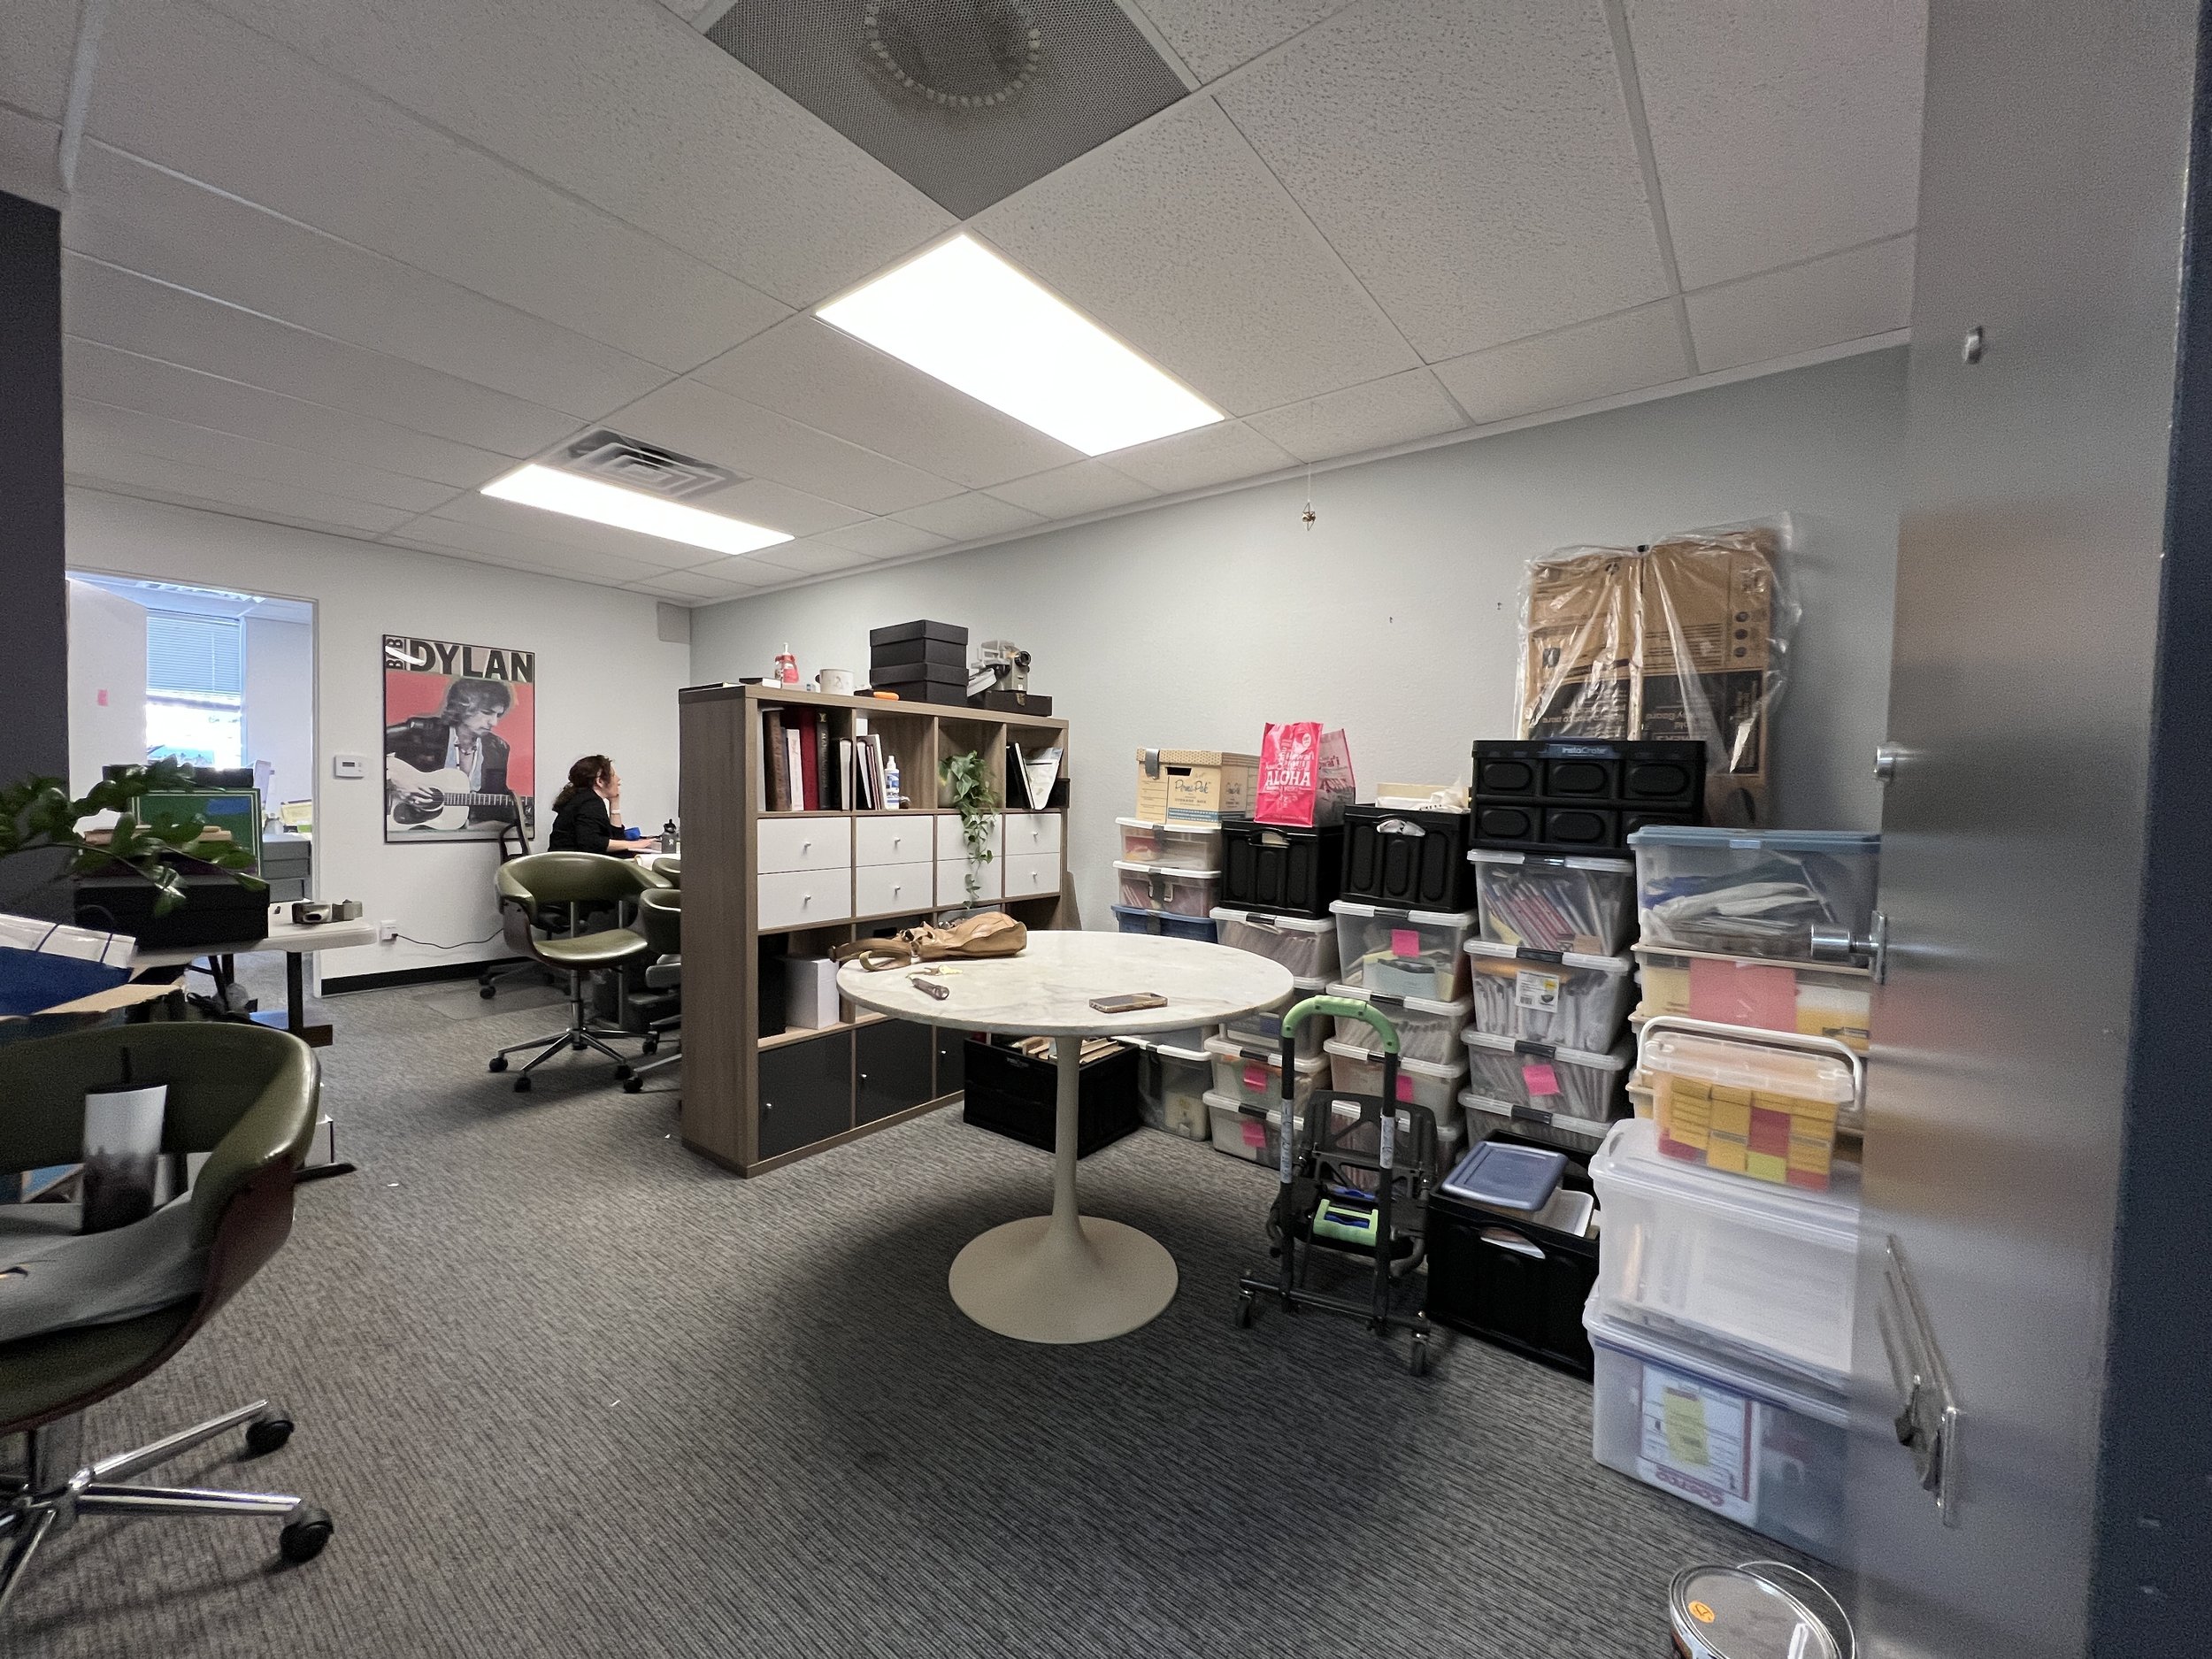
Have you ever found yourself facing a colossal collection of items, wondering where to even begin? It's a daunting task, but as the old saying goes, 'One bite at a time.' At Picturli, we embrace this philosophy and apply it to every project, regardless of its size. Why, you might ask? Because it's not just about managing the sheer volume; it's about maintaining order, following a set of tried-and-true guidelines, and ultimately, ensuring the success of the entire project. In this blog, we're about to take you through the largest collection we’ve ever had: approximately 125,000 items.
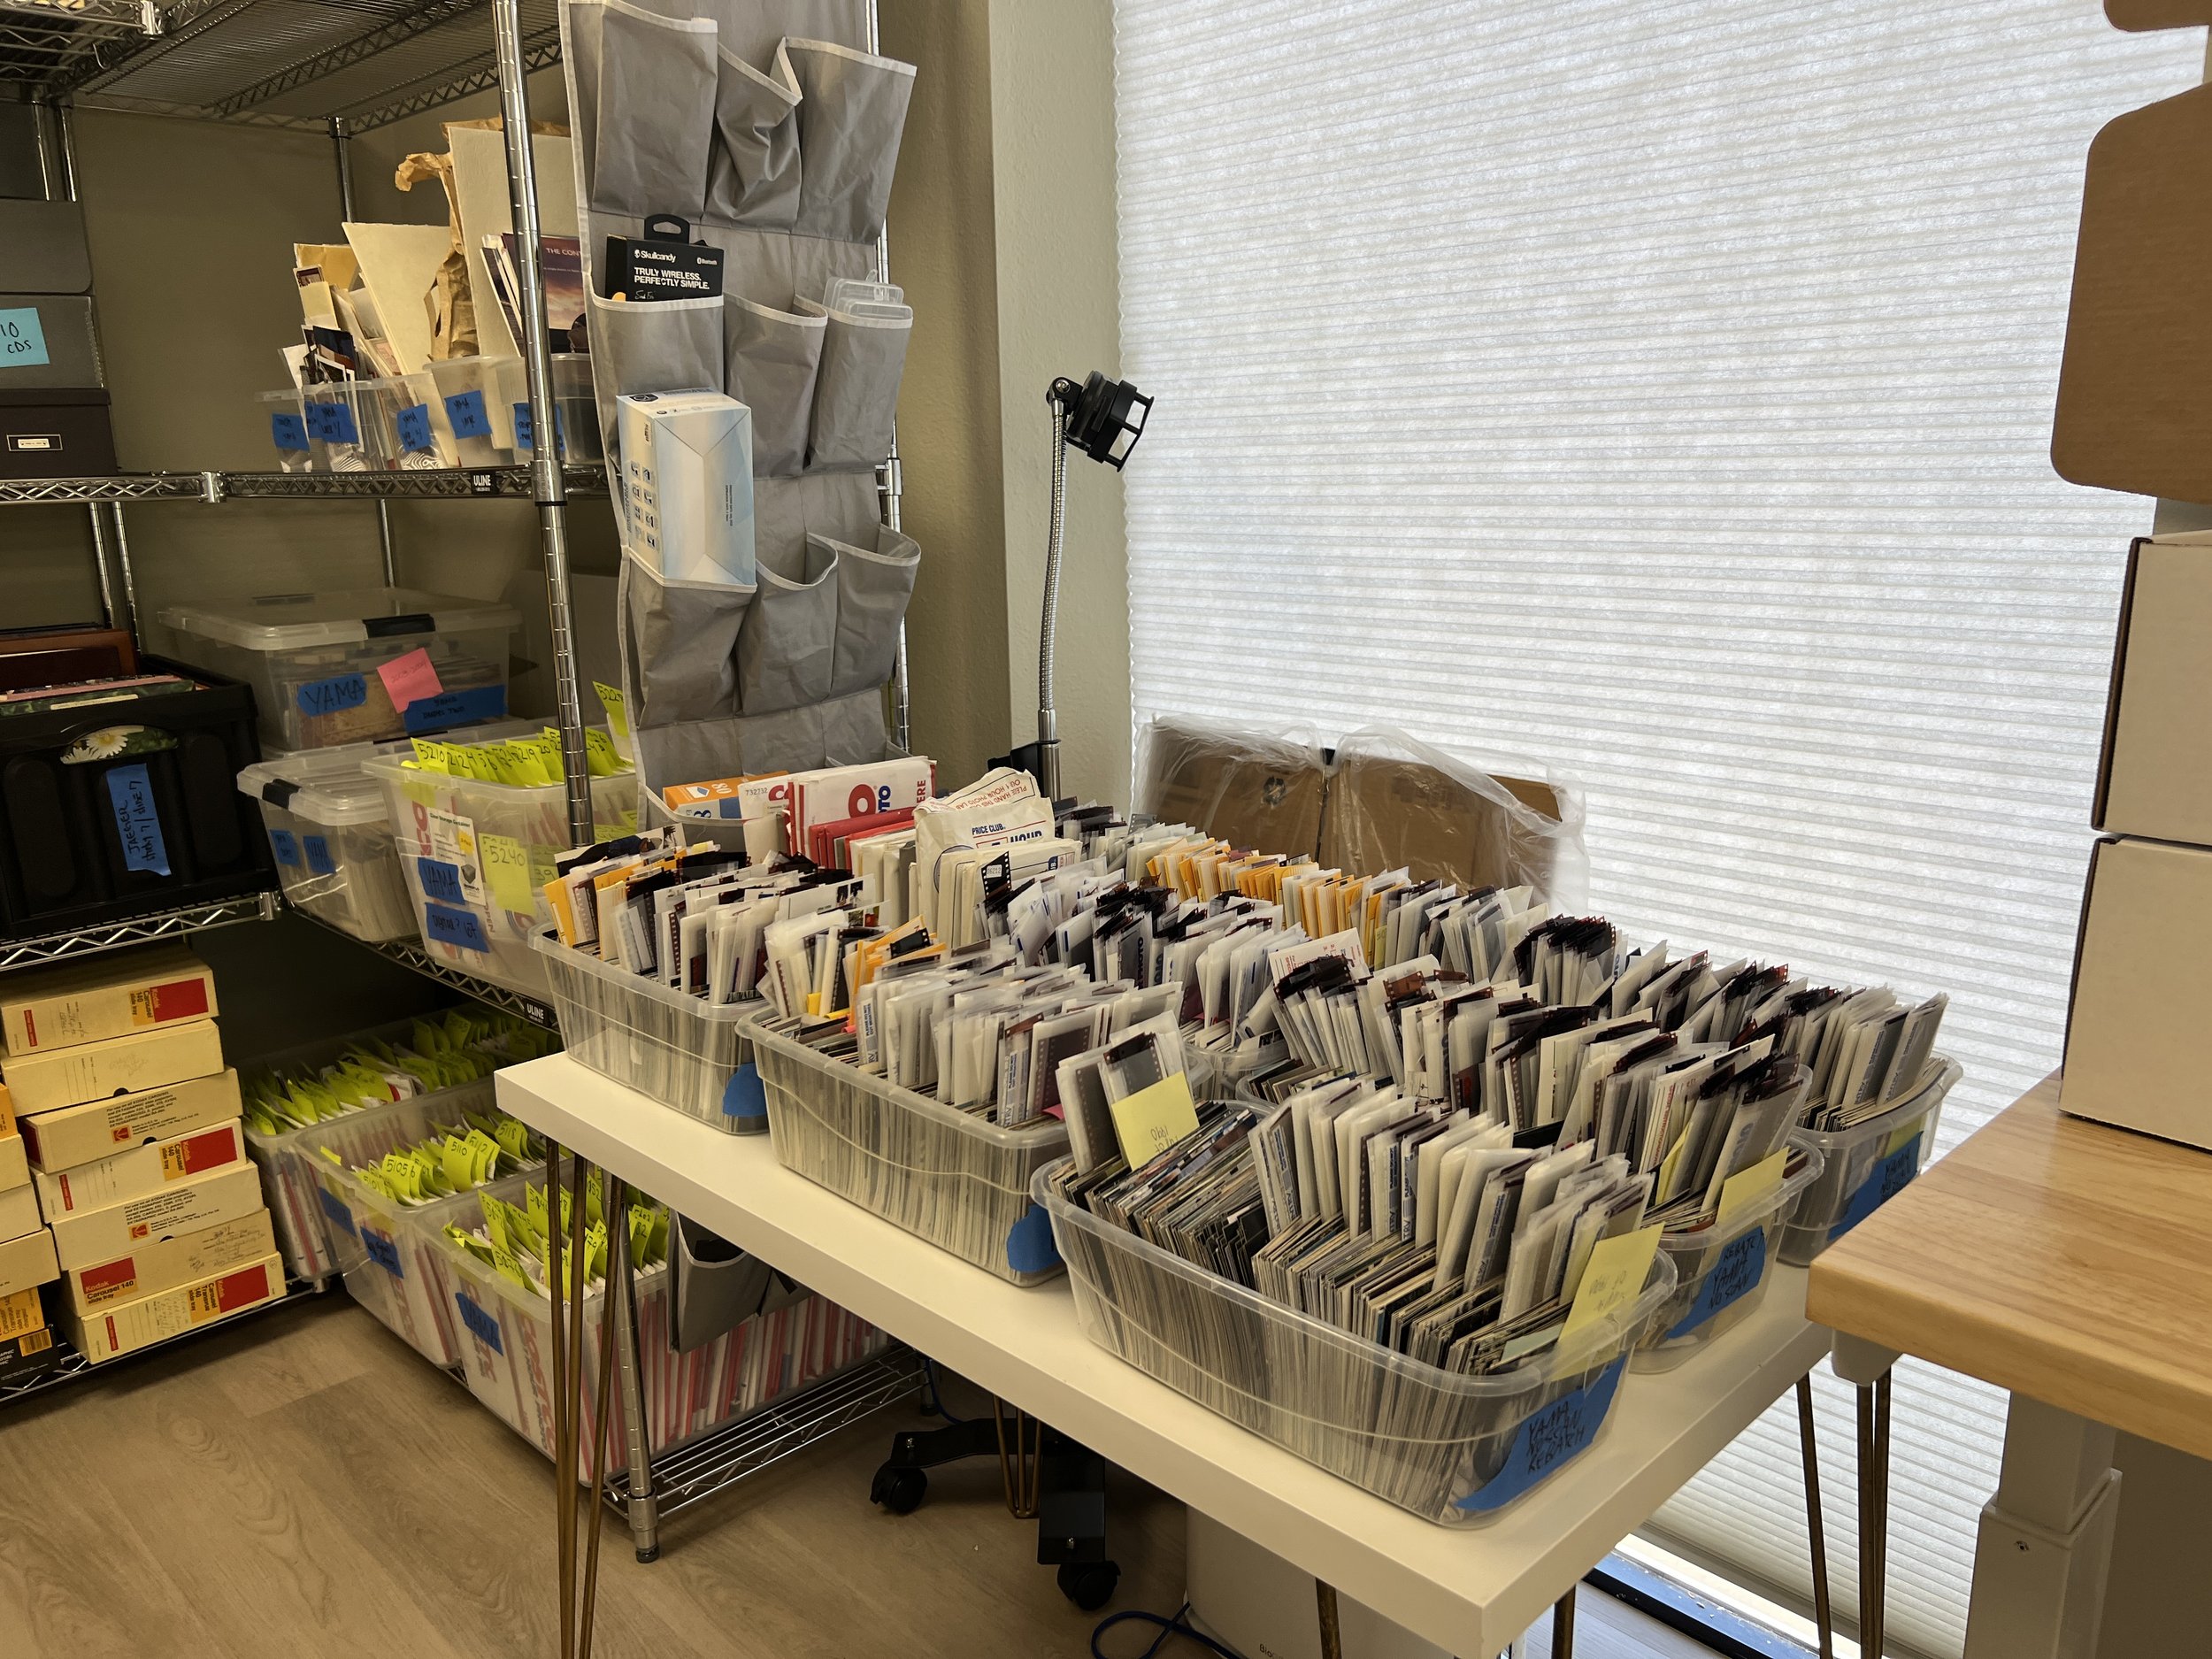

Gather Everything
We begin each project by ensuring we gather all the items to be organized, whether they are analog or digital. In this particular case, there were 43 boxes of analog items and some digital assets on SD cards and CDs. Our client had nearly everything in their collection: photos in envelopes with their negatives, photos with CDs, photos in albums, loose photos (fortunately, not too many of those), a large collection of slides, a substantial collection of negatives, numerous brochures, ranging from kids' sports memorabilia to mementos from their global travels, menus, meal plans, receipts, Hi8, VHS, Beta tapes, 8mm and 16mm film reels, and much more.
Inventory & Assessment
Once everything is in our studio, we meticulously sort through all the items for top-level organization, grouping like-for-like items together. This process allows us to gain a better understanding of our client's collection and how to approach the project's outset. It also helps us determine pricing for each segment, enabling us to provide a quote to our clients.
Organize & Curate
When dealing with analog collections, we invariably start with the albums first since they often have some semblance of organization. We specifically begin with the oldest albums for several reasons. Firstly, it helps us develop a deeper understanding of the family's history, but more importantly, it prevents us from inadvertently scanning photos that might have been printed from digital files. Our cutoff marker for this is the year 2004, as we believe that's when most photos began being printed from digital sources. We collaborate closely with our clients to ensure we gather these assets before we commence scanning any photos from 2004 and beyond. Fortunately, for this particular family photo collection, we had access to all the CDs, allowing us to download and securely archive the photos in designated archival boxes instead of scanning them.
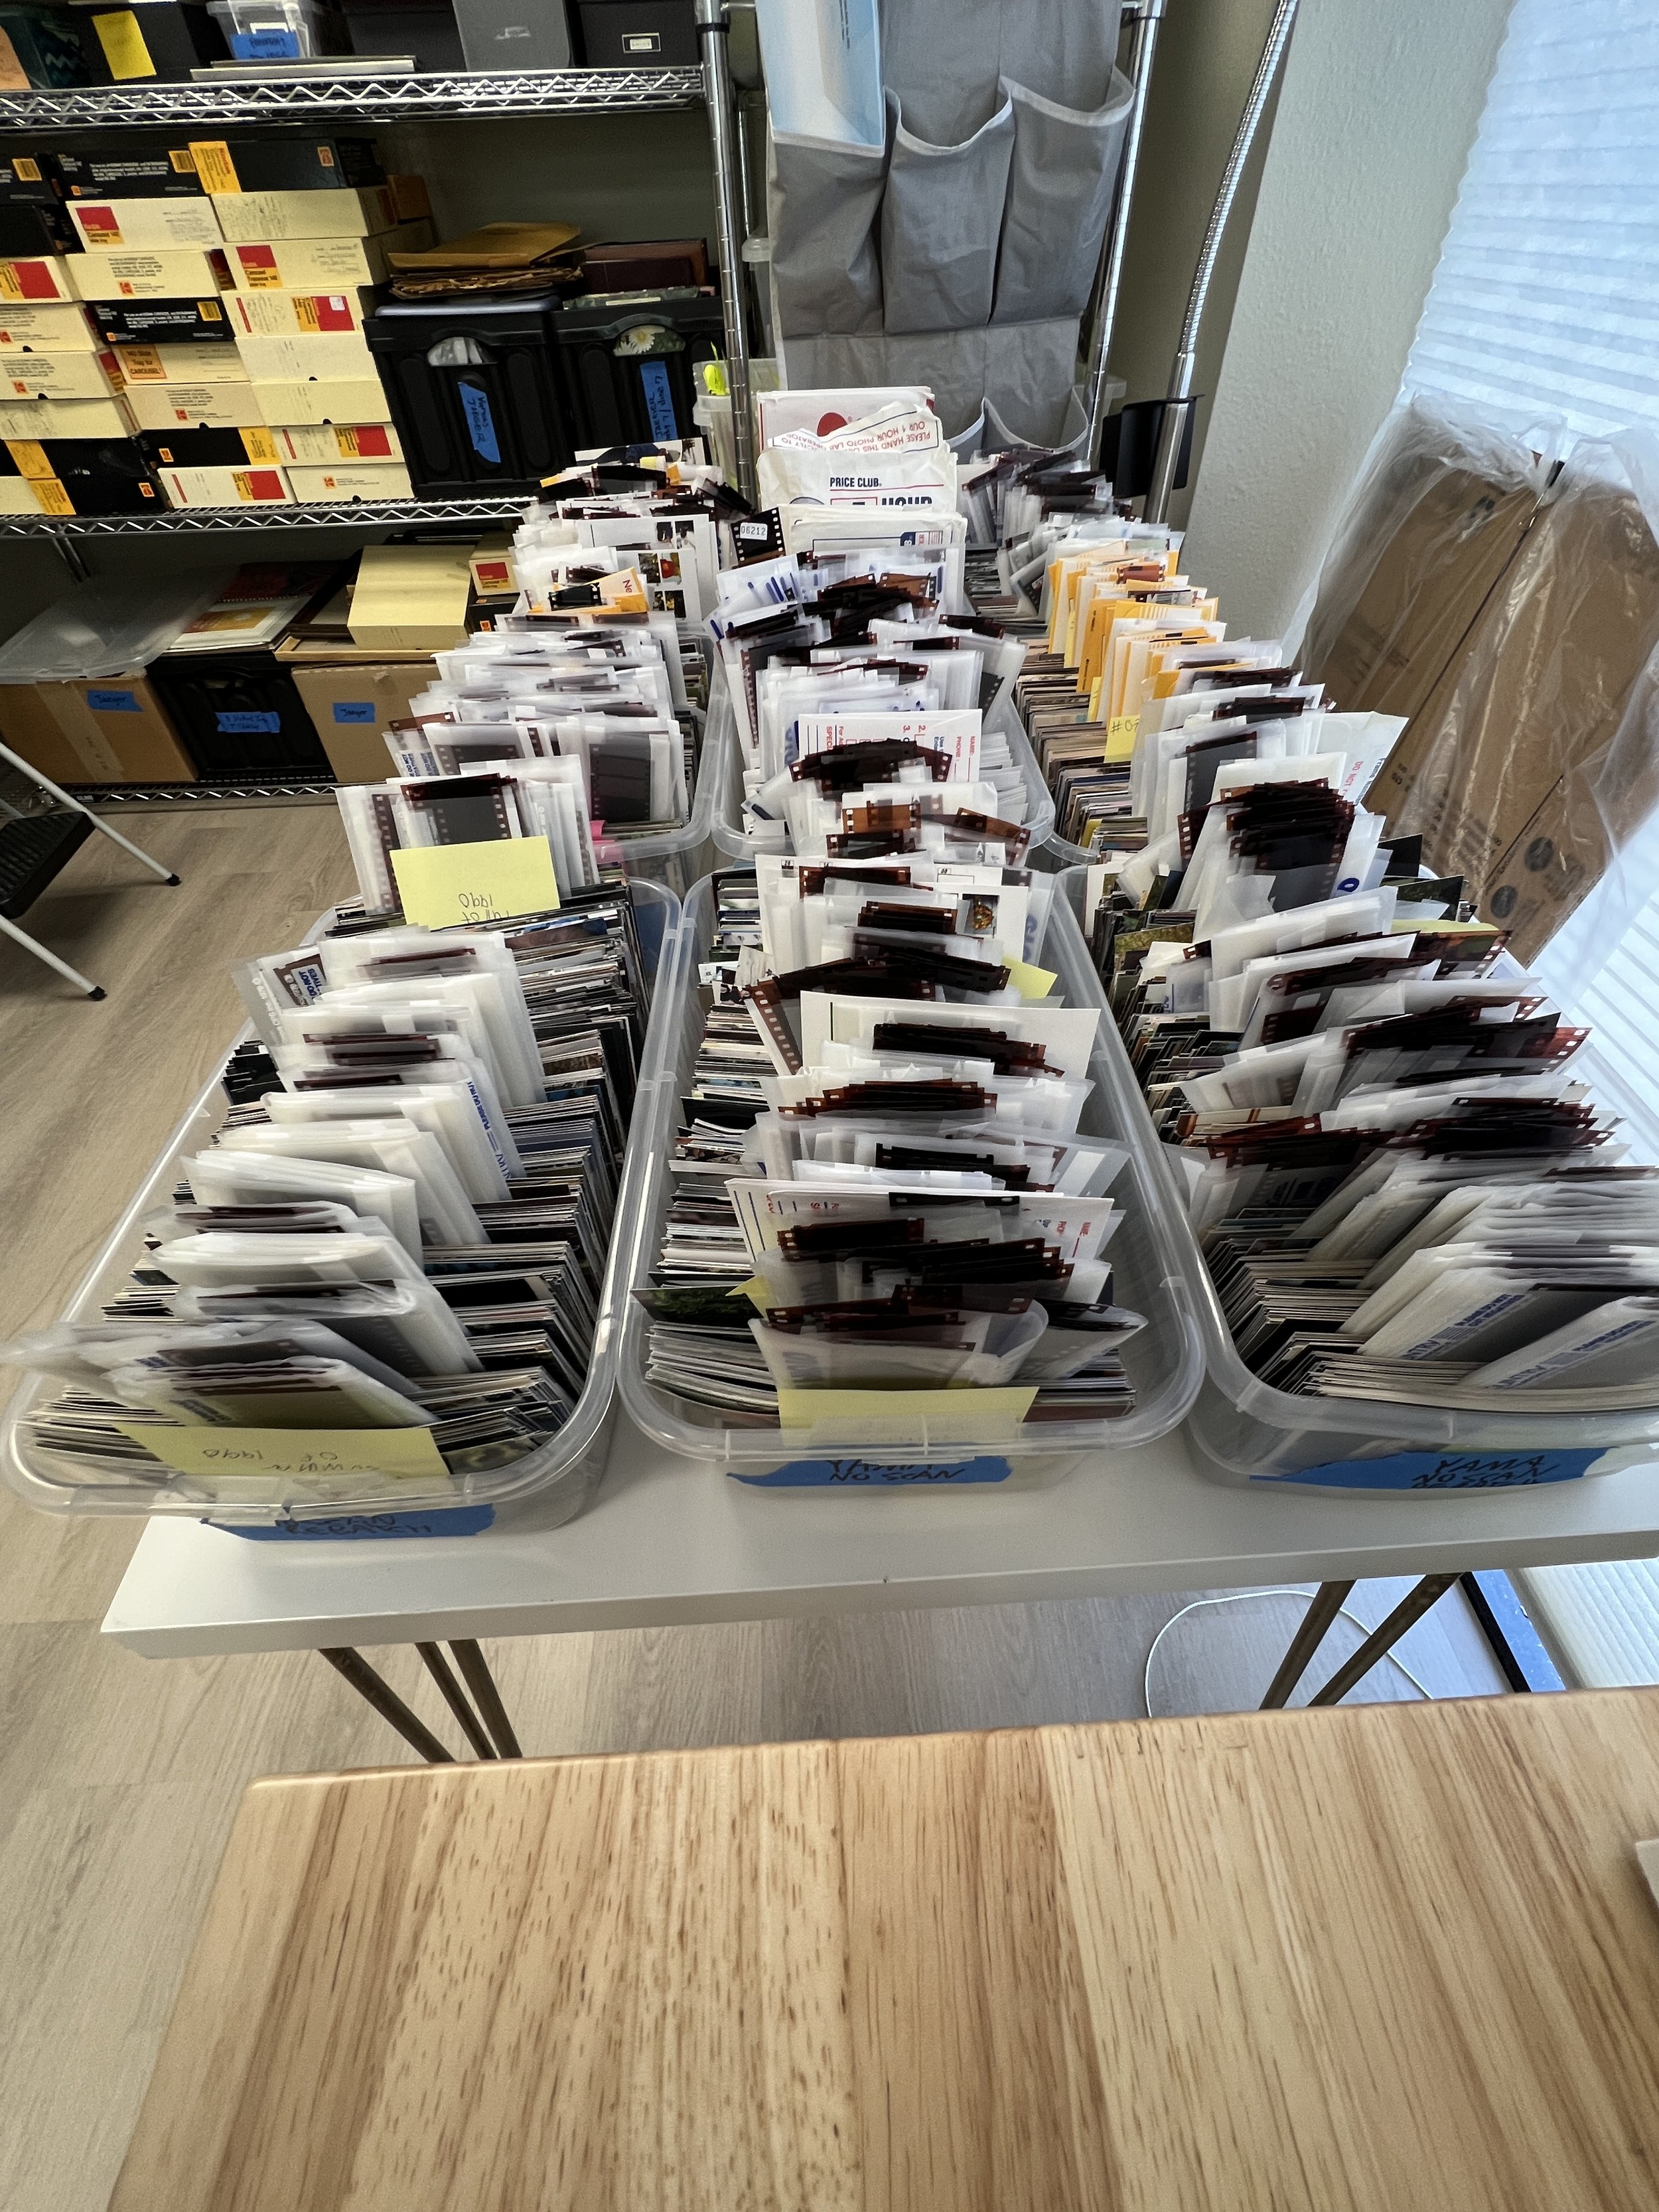
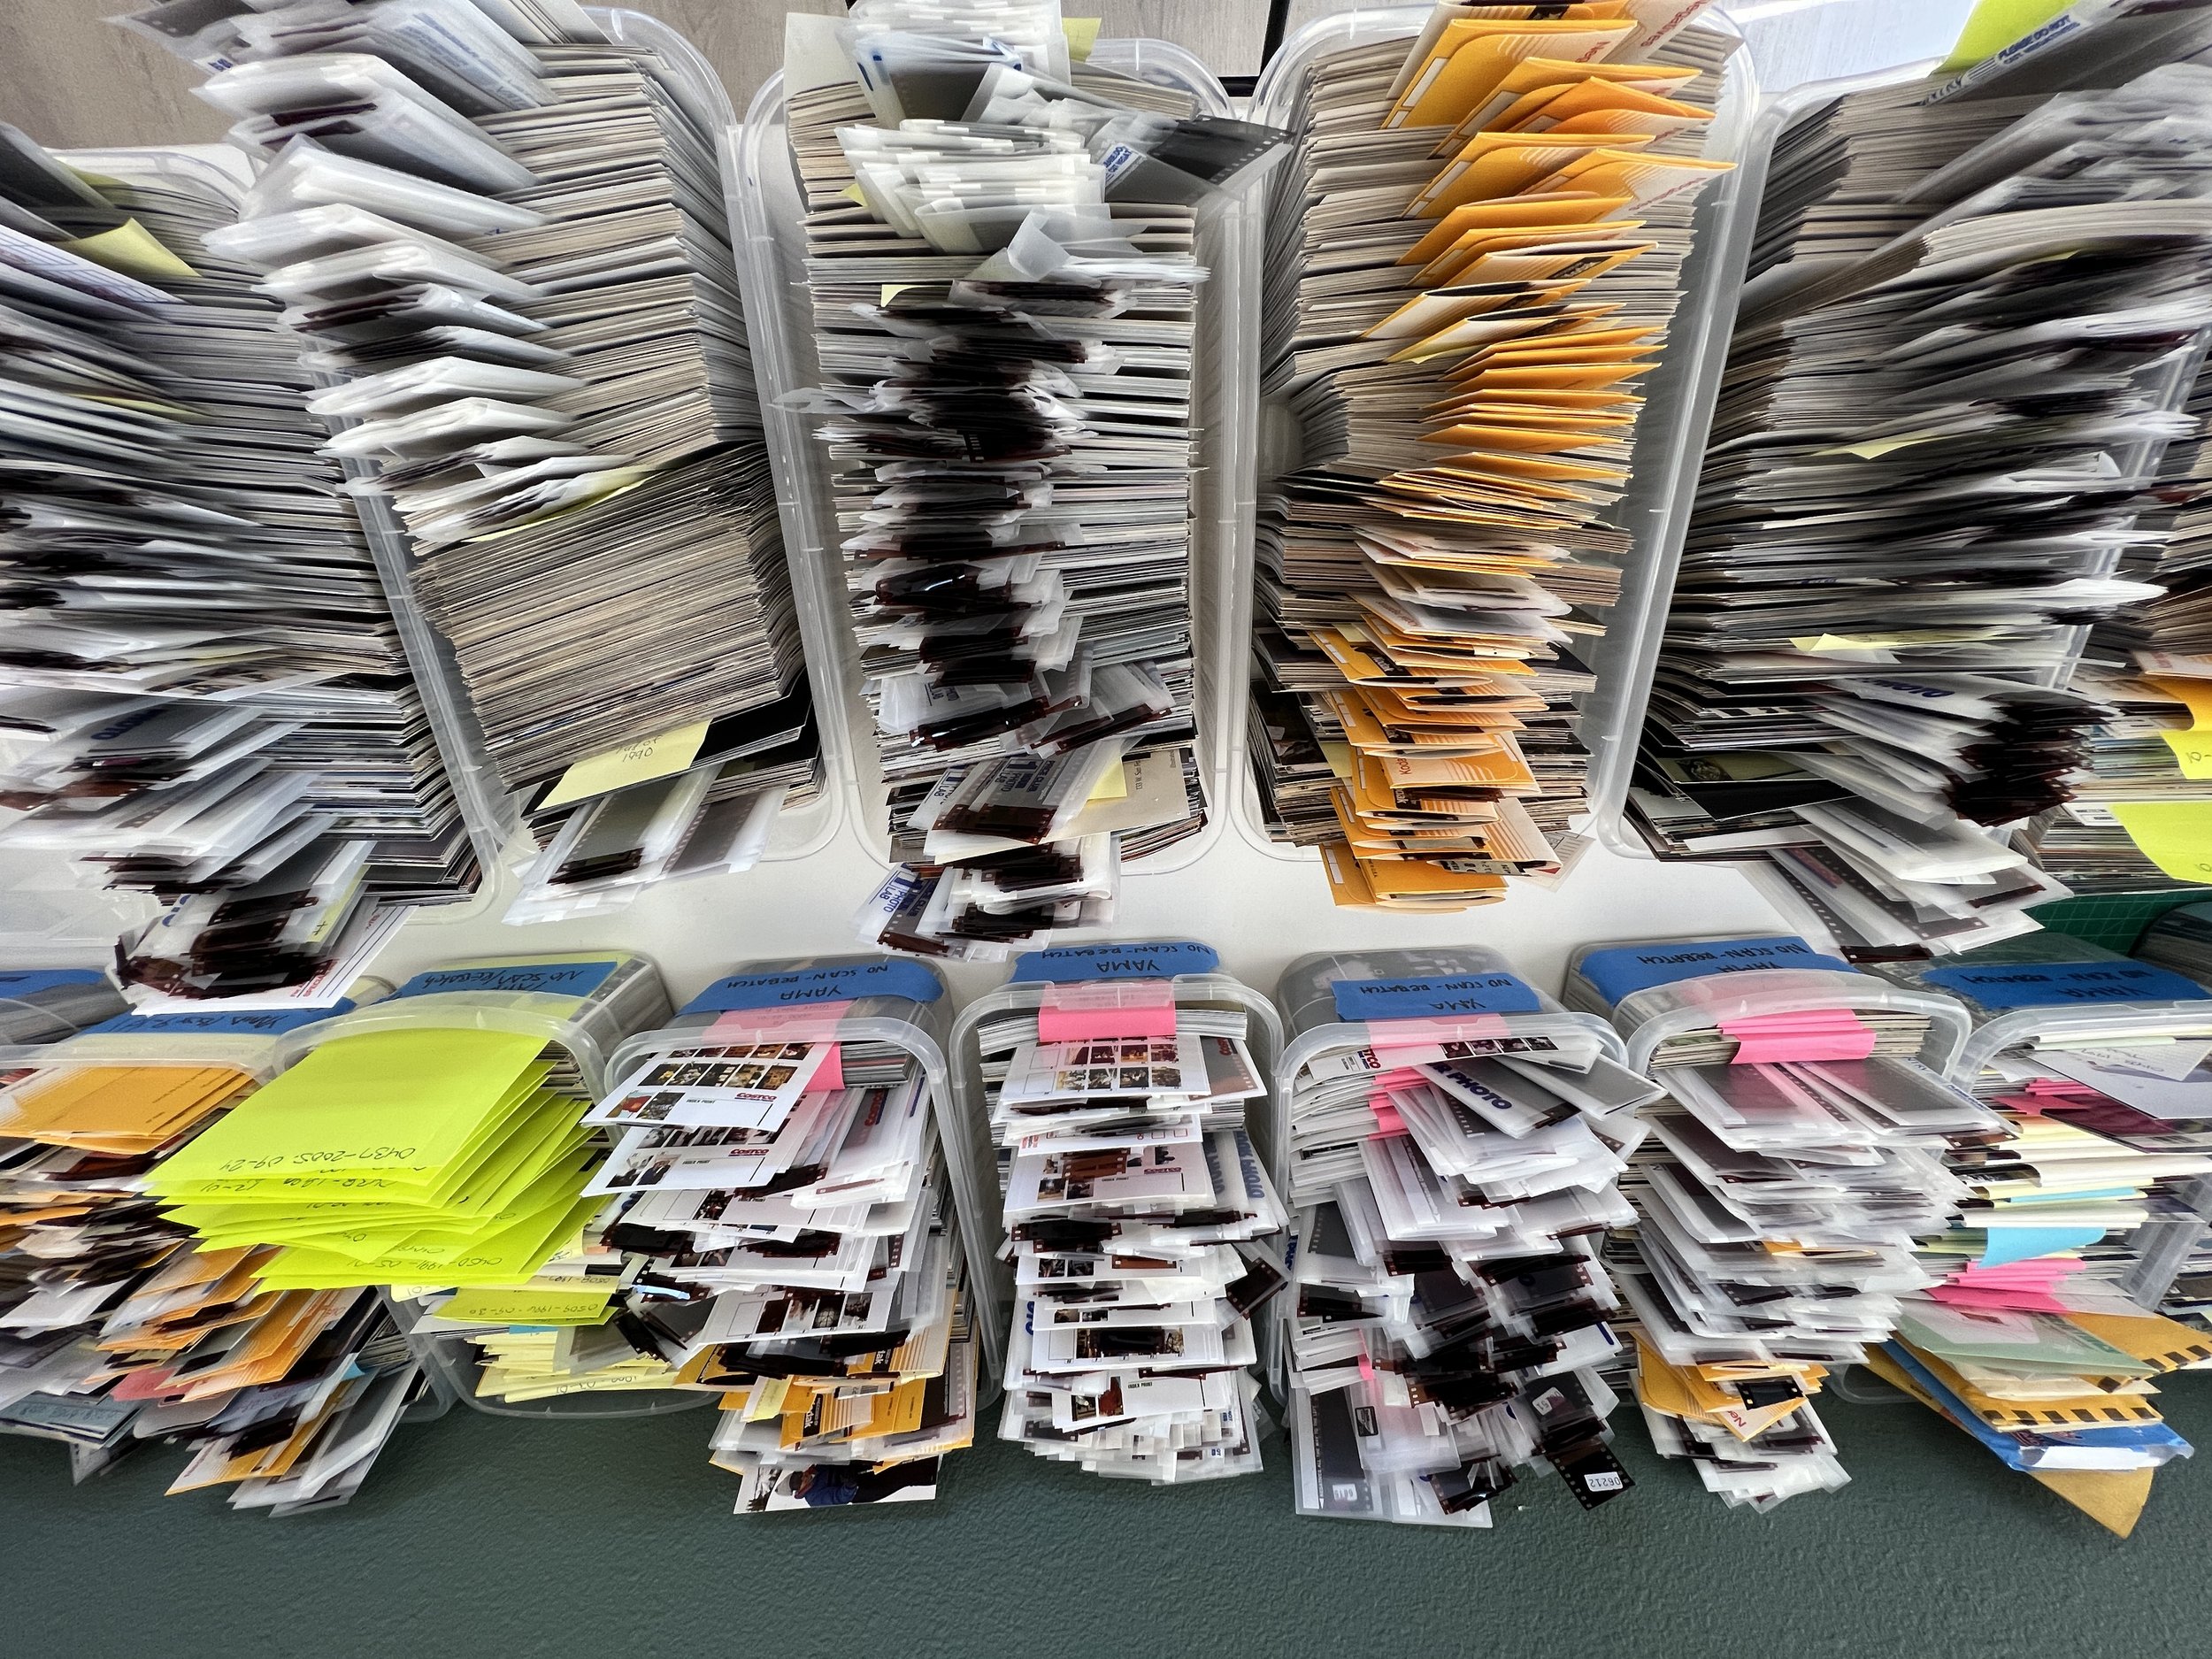
Throughout the organizational process, we meticulously curate out duplicates, low-quality images, and any other photos that do not contribute to the story our clients wish to capture. This particular client's request was to retain everything but not necessarily scan everything. Out of approximately 125,000 assets, we ended up scanning about 10%, which aligns perfectly with our recommended approach. The sheer volume of photos taken during the 80s through the 2000s can be overwhelming to scan entirely, mirroring the digital era's challenges, which we'll delve into in a future blog post.
After completing the organization of all the photos, we then turn our attention to the loose photos, which are by far the most challenging to organize. However, we have some remarkable tricks up our sleeves for this task, as we meticulously categorize them by the information found on the backs.
We ensure that all photos, slides, and negatives are organized by date. This meticulous approach allows us to provide our clients with renamed and re-dated files, ensuring that their digital library is both searchable and sortable.
Scan & Transfer
Then, the magical phase of scanning photos and transferring media begins. We scan all batches together to process them as a batch. For instance, all scanned photos from Emily’s 5th birthday will be renamed to '1980-05-08 Emily’s 5th Birthday-1,' and so on. Our clients can then use their processed images on any platform and enjoy them in a chronological format – the ideal way to savor your scanned library. Just imagine receiving 12,500 files named 'IMG_234.jpg' and so on. Not ideal!
Simultaneously, we transfer their VHS, Hi8, Beta videos, and all film formats. We segment the videos, allowing us to rename and re-date the video files as well.
Consolidate
Once the entire collection is complete, we bring all the pieces together to provide our clients with one sortable, searchable photo library. All their items are organized by year or decade, depending on how they want to enjoy them. This consolidation not only streamlines access to their cherished memories but also ensures that every photo and video can be easily located and enjoyed, creating a seamless and enjoyable experience.
Family Website, Photo Books, Gallery Walls & More
One of the most rewarding aspects of our process is ensuring that our clients have seamless access to their final collection from any device, allowing them to relish and share their cherished memories with loved ones. Our passion lies in crafting personalized family websites hosted on platforms like SmugMug, where we tailor the layout to match the family's unique structure, making it effortless for them to locate specific photos and videos. Additionally, we take immense pleasure in creating beautifully designed custom photo books as a culmination of our work. However, our creative journey doesn't stop there. We offer services such as designing gallery walls, producing legacy films, and much more to transform your collection into a truly remarkable and enduring legacy.
Back-Up
We never leave a client with just an online solution as we practice the 3-2-1 Backup Method and always ensure our clients are provided with a thumb drive with their newly scanned photo and transferred video collection!.